Post-Production
Editing
The final stage of creating a film is post-production or editing. This is when you put everything you have shot together to create your film. It is best to organise your edit from the beginning and then once you have a rough cut add any extras to the film. Finally remembering that when uploading you may need to reduce the size of your video.
Creating your Video
The process of editing can be a daunting prospect for anyone who has never done it before but should be fun to see your idea coming to life. By following the earlier steps of planning, storyboarding and filming, you should have an idea of what your final video outcome is going to look like and what message(s) you are trying to convey to your viewer.
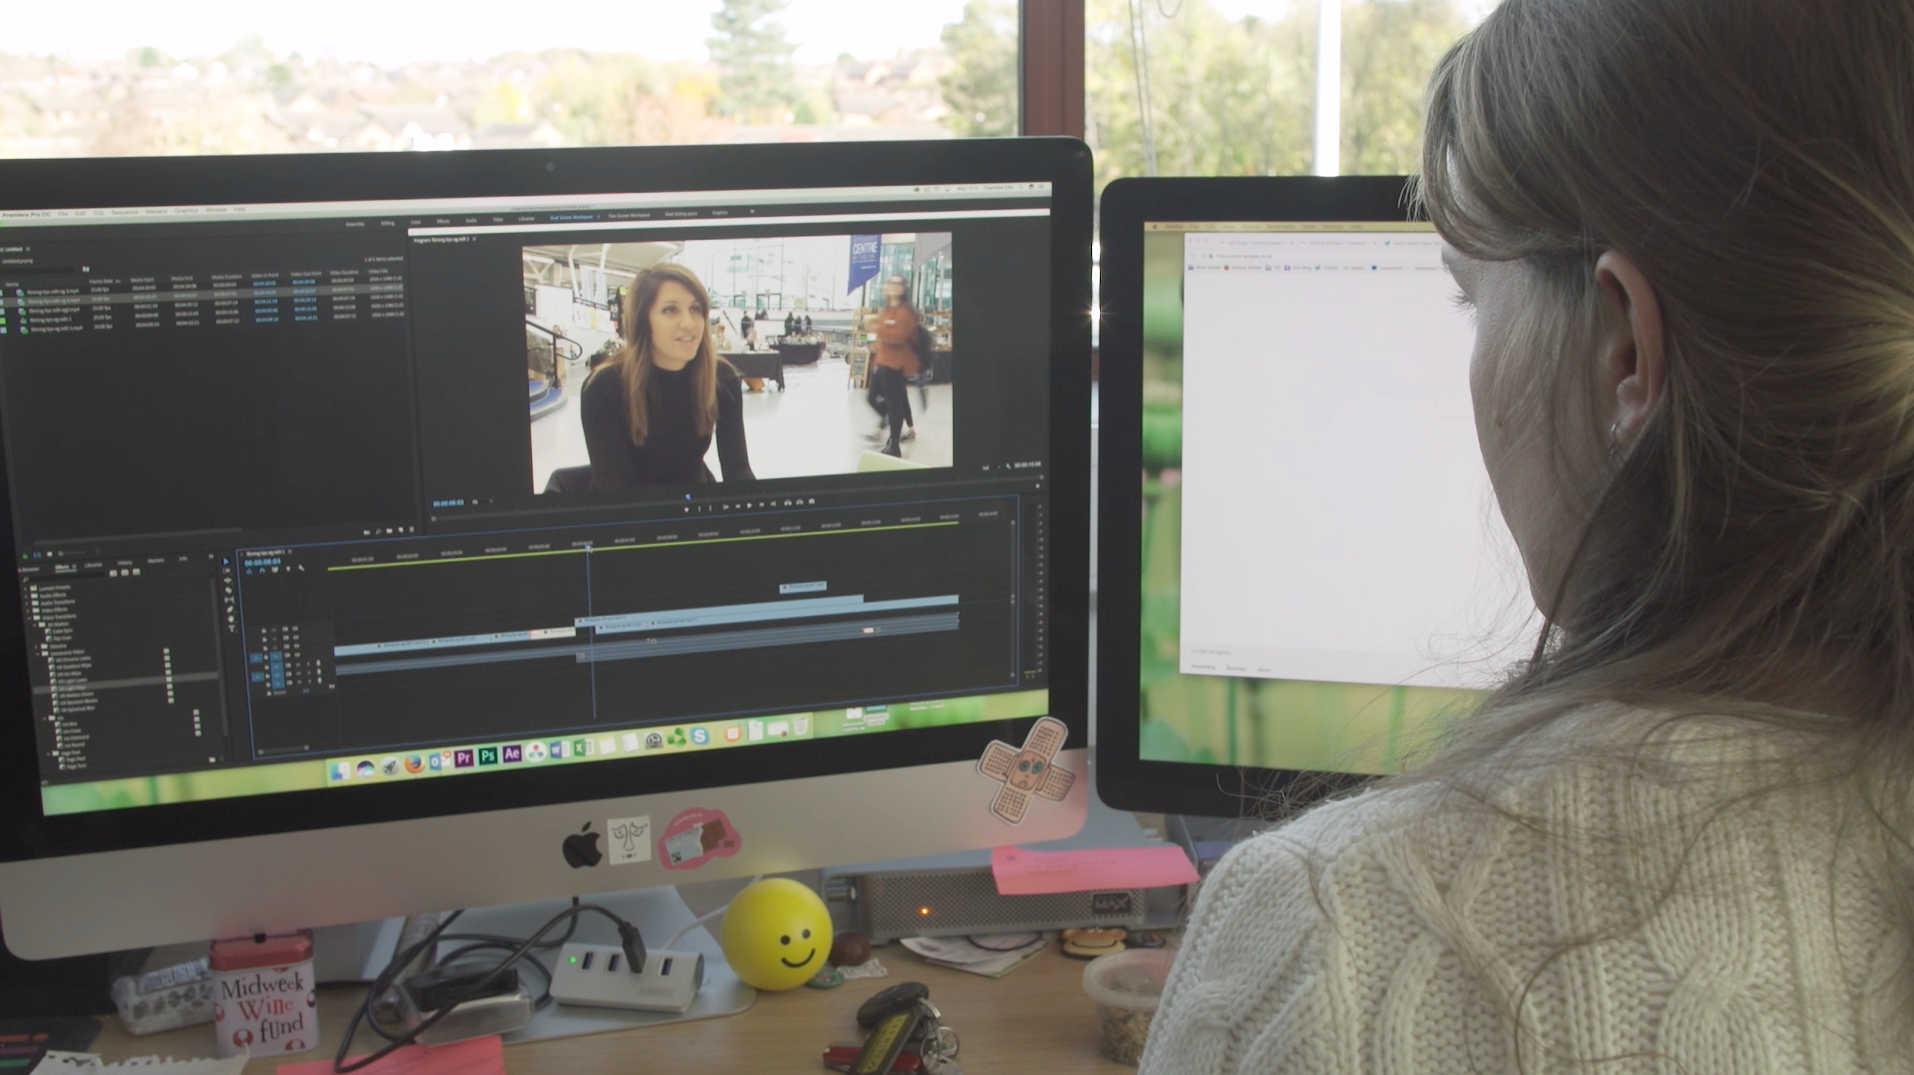
Computer
Edit at your desktop on your computer.
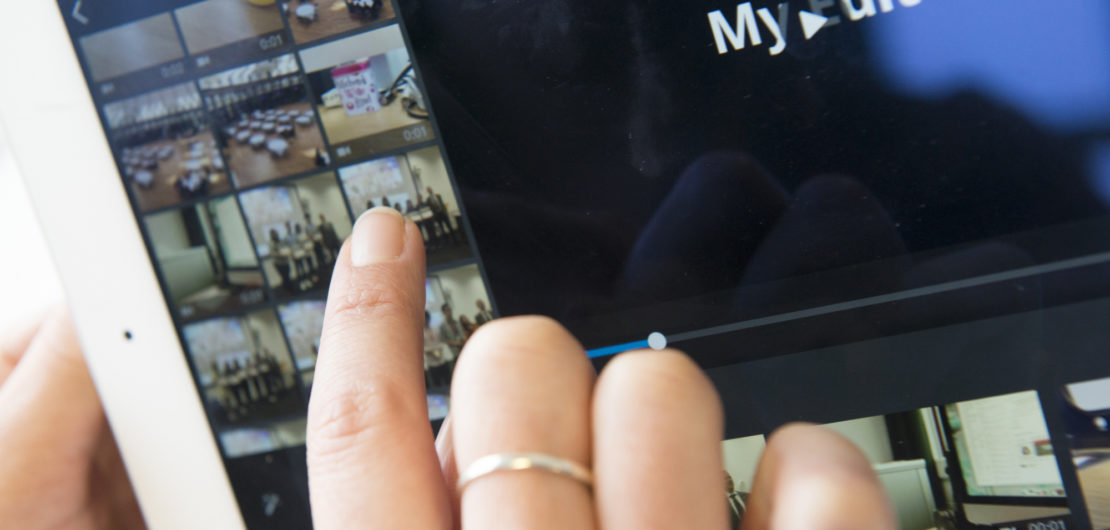
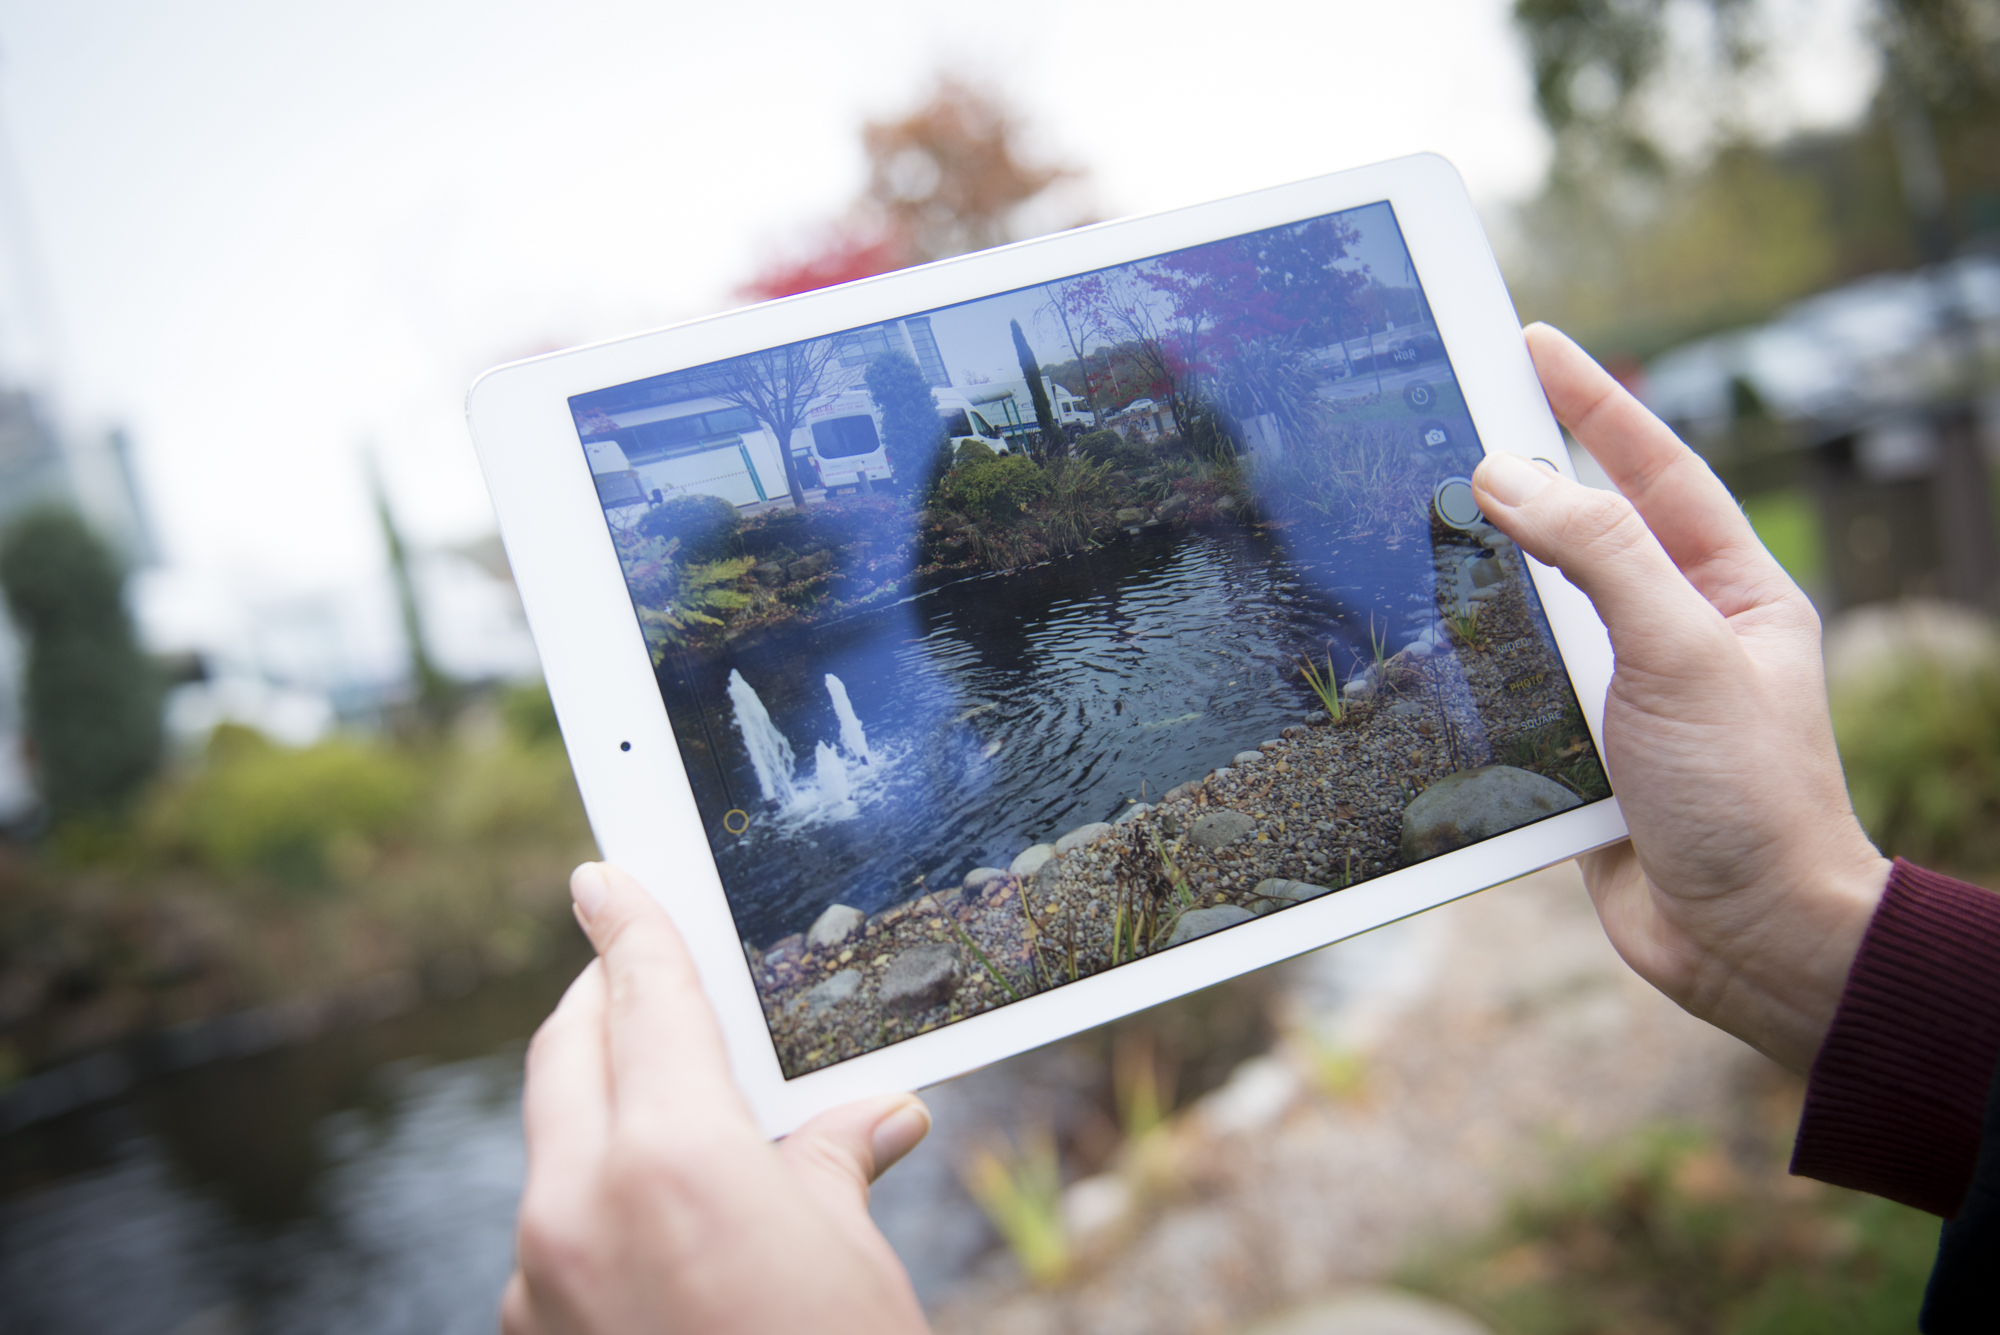
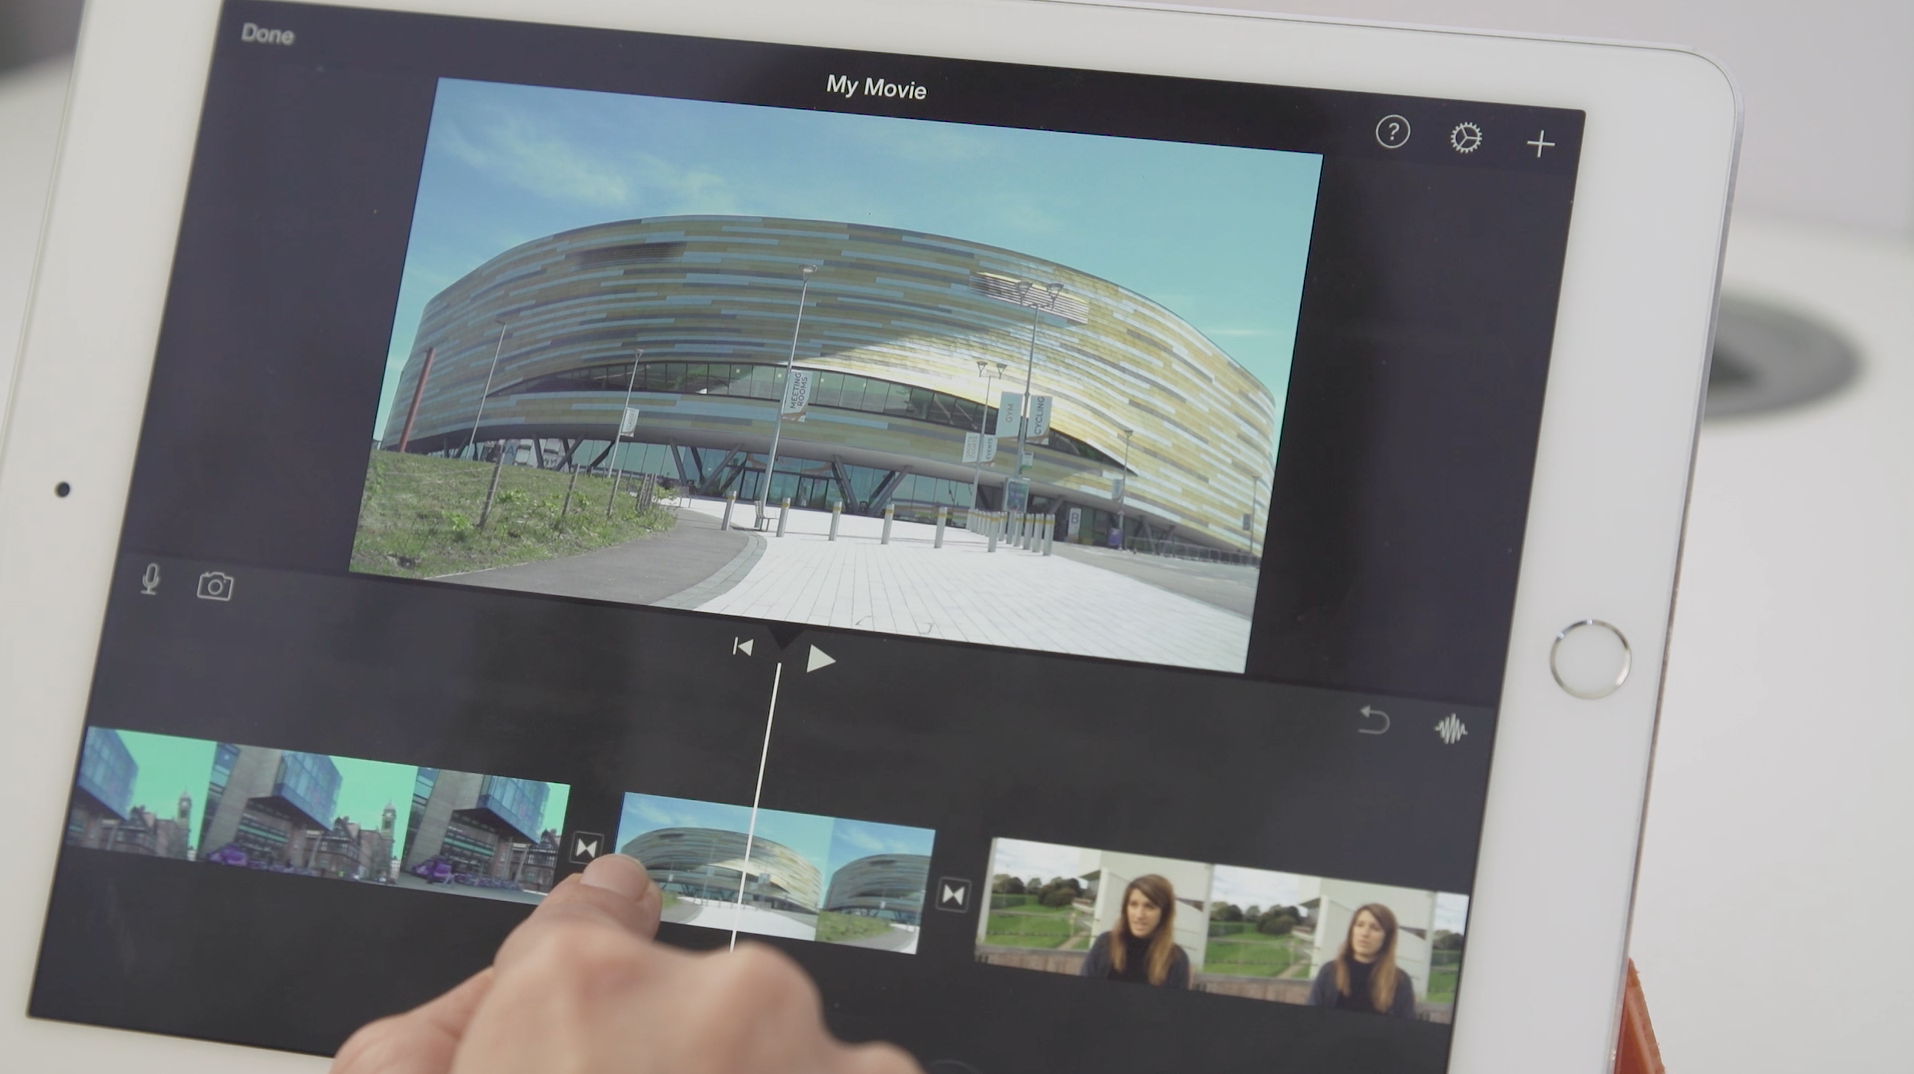
Mobile Devices
Film then edit on your mobile devices.
Music
Music can change the emotion of a film, so pick wisely.
Review
It's a good idea to review your film.

Laptop
Edit on the go with your laptop.
Voiceover
Add a voiceover to add context to your meaning.
Text
Titles and text can bring the full understanding of your film together.
Final Film
You can now view your final film on all your devices.
Before you begin
Once you have shot your video it's now time to start putting it together. It is probably a good idea to have a look over the pre-production documents you created at the planning stages. The get organised. Upload your footage through a USB cable or card reader.
Keep all your footage together in a folder and back this up.
Remember to save your work or set auto save into the programme that you are using. You don't want to have spent a few hours editing for it all to be lost through the programme crashing.

Choosing the footage you want to use
If you've not shot much you could load them all onto your computer. However, if you've shot a lot you may want to select the ones you think you'll use. But don't delete anything unless you are 100% sure you aren't going to use it later.
Create a project
Open the editing package you are going to edit from. Create a new project and name it.
Add the clips to your project
You will need to import your clips into you project through your chosen editing programme.
Get organised
If you are working on a large project, it's a good idea to create 'bins' or 'folder' to store the footage into. If you split the footage up into different part this will make it easier for you to edit and know where certain clips are.


Start editing
If you made a storyboard at the beginning of the process it should make it easier for you to place the shots together.
- Put the shots in order on the timeline. (The video is coming together)
- Trim the beginning and end of the clips, so you only have the footage needed. (Rough cut of video)
- Trim more precisely the clips and check the audio levels.
- Add effects and transitions.
This will give you a great idea of how the final film will look.
Keep fine tuning this, by going over the edit and changing anything that stands out to you that shouldn't. It could be a good idea to also get a second option on it to see if they spot anything you've missed.
The finishing touches
Now you need to go over the video and make sure all the transitions work smoothly and the colours match from shot to shot. Also making sure that the sound is correct, with no dead silence or music drowning out any speech.
Finally, you can add any titles and any logos to your finished video. These could be at the beginning, name titles for anyone interviewed or possible credits at the end - if you have created a longer film.
Exporting your final video
Once the video is completed and you are happy with it you can now export a high-resolution copy to play on other devices. If you need to upload it somewhere you may need to export a lower quality copy or compress the video to a smaller size.
